
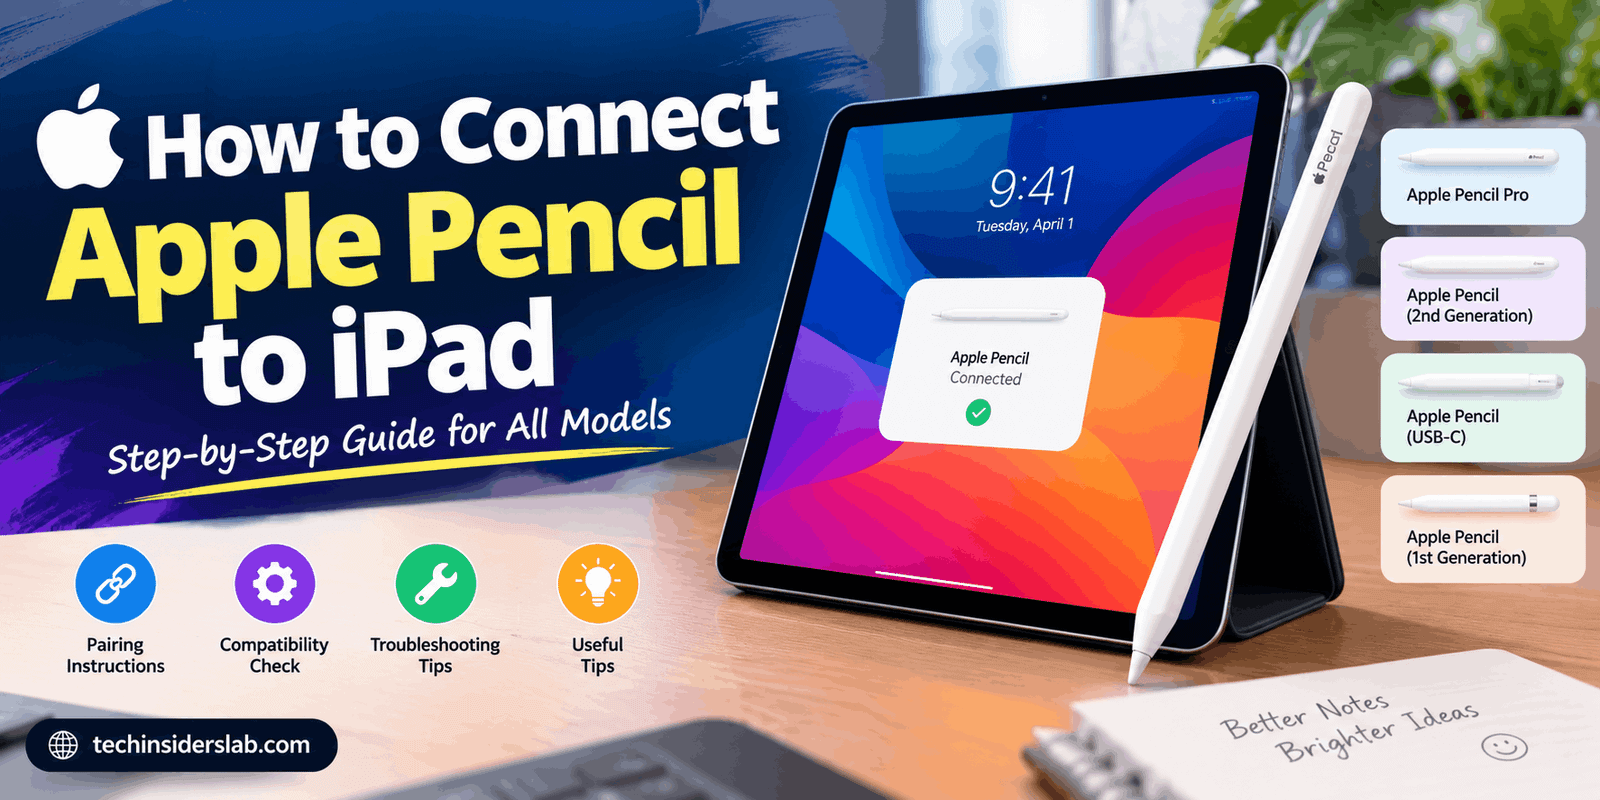
How to Connect Apple Pencil to iPad:Complete Step-by-Step Guide
introduction
Apple Pencil is a useful accessory for iPad users who want to take handwritten notes, draw digital artwork, edit documents, or navigate their device with greater precision. However, connecting an Apple Pencil to an iPad is not always as simple as attaching it to the side of the tablet. The correct method depends on the Apple Pencil model and the iPad you own.
If you are wondering how to connect Apple Pencil to iPad, this guide explains the pairing process for different models, common connection problems, and practical solutions to help you get started.
What Is Apple Pencil?
Apple Pencil is a digital stylus designed for compatible iPad models. It allows users to write, sketch, highlight text, mark up PDFs, and perform other tasks with precision. Depending on the model and iPad, supported features may include pressure sensitivity, tilt detection, magnetic attachment, wireless charging, and double-tap controls.
Students can use it for digital notes, professionals can annotate documents, and artists can create illustrations without needing a traditional drawing tablet.
Before connecting your Apple Pencil, you should identify its model and confirm that your iPad supports it.
Step 1: Check Apple Pencil and iPad Compatibility
The first step is to check whether your Apple Pencil is compatible with your iPad. Different Apple Pencil generations use different connection methods, and not every Pencil works with every iPad.
The main Apple Pencil models include:
- Apple Pencil Pro: Attaches magnetically to compatible iPads and pairs and charges wirelessly.
- Apple Pencil (2nd generation): Attaches to the magnetic connector on compatible iPads for pairing and charging.
- Apple Pencil (USB-C): Uses a USB-C cable for pairing and charging, with magnetic attachment available for storage on supported iPads.
- Apple Pencil (1st generation): Uses a Lightning connector on compatible iPads. Some iPad models require a USB-C to Apple Pencil Adapter.
Check your iPad’s model name and generation in Settings under General and About. Then compare it with Apple’s official compatibility information. This is important because physical attachment alone does not guarantee compatibility.
How to Connect Apple Pencil Pro to iPad
Apple Pencil Pro is designed for specific newer iPad models. If you have a compatible iPad, the connection process is straightforward.
- Make sure your iPad is turned on and Bluetooth is enabled.
- Unlock your iPad.
- Place the flat side of the Apple Pencil Pro against the magnetic connector on the side of the iPad.
- Wait for the pairing prompt to appear on the screen.
- Follow the on-screen instructions to complete the connection.
Once paired, the Apple Pencil Pro should attach magnetically and charge when properly positioned on the supported iPad.
If the pairing prompt does not appear, remove the Pencil, check compatibility, and attach it again. You can also restart the iPad and try once more.
How to Connect Apple Pencil (2nd Generation) to iPad
The second-generation Apple Pencil connects wirelessly through the magnetic connector on compatible iPads.
Follow these steps:
- Turn on your iPad and unlock it.
- Enable Bluetooth in Settings if it is not already enabled.
- Locate the magnetic connector along the supported side of the iPad.
- Attach the flat side of the Apple Pencil to the connector.
- Wait for the pairing notification.
- Tap the appropriate on-screen option if prompted.
After pairing, the Apple Pencil can remain attached to the magnetic connector for charging and storage.
If nothing happens, check whether your iPad supports the second-generation Pencil. Also remove thick cases or accessories that might prevent proper magnetic contact.
How to Connect Apple Pencil (USB-C) to iPad
Apple Pencil (USB-C) uses a wired connection for pairing. It can be stored magnetically on the side of certain iPads, but that magnetic attachment does not provide wireless charging.
To connect it:
- Unlock your compatible iPad.
- Slide open the end of the Apple Pencil to reveal its USB-C port.
- Connect a suitable USB-C cable to the Pencil.
- Connect the other end of the cable to the iPad’s USB-C port.
- Follow any pairing instructions that appear on the screen.
- Disconnect the cable after pairing is complete.
You can then use the Pencil for supported writing, drawing, and navigation tasks.
Remember that Apple Pencil (USB-C) does not offer every feature available on other models. For example, it does not support pressure sensitivity, and magnetic attachment is intended for storage rather than wireless charging.
How to Connect Apple Pencil (1st Generation) to iPad
The first-generation Apple Pencil uses a different connection method. The exact steps depend on whether your compatible iPad has a Lightning connector or requires an adapter.
For compatible iPads with a Lightning port
- Remove the cap from the end of the Apple Pencil.
- Insert its Lightning connector into the iPad’s Lightning port.
- Wait for the pairing prompt.
- Tap Pair if the option appears.
- Wait for pairing to finish before removing the Pencil.
Once paired, you can disconnect it and start using it.
For compatible iPads with a USB-C port
Some compatible iPads require an Apple USB-C to Apple Pencil Adapter to connect the first-generation Pencil.
- Remove the Pencil’s cap.
- Connect the Pencil to the Apple USB-C to Apple Pencil Adapter.
- Attach a USB-C cable to the adapter.
- Connect the cable to the iPad.
- Follow the pairing instructions displayed on the screen.
The adapter requirements depend on your specific iPad and Pencil combination, so confirm compatibility before purchasing accessories.
How to Check Whether Apple Pencil Is Connected
After pairing your Apple Pencil, you may want to confirm that it is working properly.
Check the battery widget
Add the Batteries widget to your iPad’s Home Screen or view it in a supported widget location. Depending on the Pencil model and connection state, its battery level may appear there.
Test it in Notes
Open the Notes app, create a new note, and try writing or drawing on the screen. If the Pencil responds normally, it is ready to use.
Check Bluetooth settings
Open Settings and select Bluetooth. A paired Apple Pencil may appear in the list of connected or previously paired devices, depending on the model and current connection state.
Keep in mind that Bluetooth settings alone may not show every detail about the Pencil’s battery or charging status.
How to Fix Apple Pencil Not Connecting to iPad
If your Apple Pencil refuses to connect, several common issues may be responsible. Try these solutions in order.
1. Confirm compatibility
The most important step is to verify that your Apple Pencil and iPad models work together. An incompatible Pencil will not pair, even if it attaches magnetically to the tablet.
2. Turn on Bluetooth
For wireless pairing, Bluetooth should be enabled. Open Settings, select Bluetooth, and turn it on.
3. Charge the Apple Pencil
A completely drained battery can prevent pairing. Charge your Pencil using the method supported by its model. For magnetic models, make sure the Pencil is correctly positioned on the connector.
4. Reconnect the Pencil
If the Pencil was previously paired, open Settings and select Bluetooth. If Apple Pencil appears in the device list, tap the information button and choose Forget This Device if available.
Then reconnect the Pencil using the correct method for its model. Follow the pairing prompt if it appears.
5. Restart the iPad
Restarting your iPad can resolve temporary software issues. After the device restarts, enable Bluetooth if necessary and try connecting the Pencil again.
6. Update iPadOS
An available software update may improve compatibility or fix connection-related bugs. Open Settings, select General, and tap Software Update to check for an available update.
7. Remove the case
Some cases interfere with the magnetic attachment or prevent the Pencil from making proper contact with the charging connector. Remove the case temporarily and try pairing again.
8. Allow time for charging
If the Pencil has not been used for a long time, its battery may be deeply discharged. Leave it charging using the correct method for a reasonable period, then try pairing again.
If none of these steps works, the Pencil or iPad may need professional inspection through Apple or an authorized service provider.
How to Use Apple Pencil After Connecting It
Once your Apple Pencil is connected, you can use it for more than basic screen navigation.
Take handwritten notes: Write directly in Notes or a compatible note-taking app. This is particularly useful for students and people attending meetings.
Draw and illustrate: Use drawing applications to create sketches, illustrations, and digital paintings. Pressure-sensitive models offer additional control in supported apps.
Annotate documents: Mark up PDFs, highlight important information, and add handwritten comments to supported documents.
Write in text fields: Depending on the iPadOS version, language, and app, Scribble may let you write with Apple Pencil in supported text fields.
Edit images: Use a compatible image-editing app to make precise selections, retouch photographs, or draw directly on images.
Navigate your iPad: Apple Pencil can select items, tap controls, and interact with many supported apps.
Available features depend on the Pencil model, iPad model, operating system, and app.
Tips for Getting the Best Apple Pencil Experience
A few simple habits can help you use your Apple Pencil more effectively.
- Keep the Pencil charged, especially before classes, meetings, or drawing sessions.
- Store it safely to reduce the risk of losing or damaging it.
- Use a compatible case that does not interfere with magnetic attachment or charging.
- Keep your iPad updated to benefit from supported software improvements.
- Explore the Apple Pencil settings available on your device.
- Check app compatibility before relying on advanced drawing or handwriting features.
- Avoid exposing the Pencil to liquids, excessive heat, or physical damage.
You can also explore the settings for supported Apple Pencil features, such as double-tap actions or squeeze gestures, if your particular model offers them.
Conclusion
Connecting an Apple Pencil to an iPad is easy once you identify the correct Pencil model and confirm compatibility. Apple Pencil Pro and the second-generation model pair through a magnetic connector, Apple Pencil (USB-C) uses a cable for pairing, and the first-generation model connects through a Lightning port or the required adapter.
If your Apple Pencil does not connect, check compatibility first, charge the device, verify Bluetooth settings, and restart your iPad if needed. With the correct setup, Apple Pencil can make writing, drawing, studying, and document editing much more convenient.