introduction
A good microphone can completely change the quality of a podcast, YouTube video, online class, voice recording, or live stream. While many microphones are designed for professional studios, some products have become popular because they offer strong audio performance without requiring complicated equipment. Blue Yeti Microphone is one of the best-known examples of this approach.
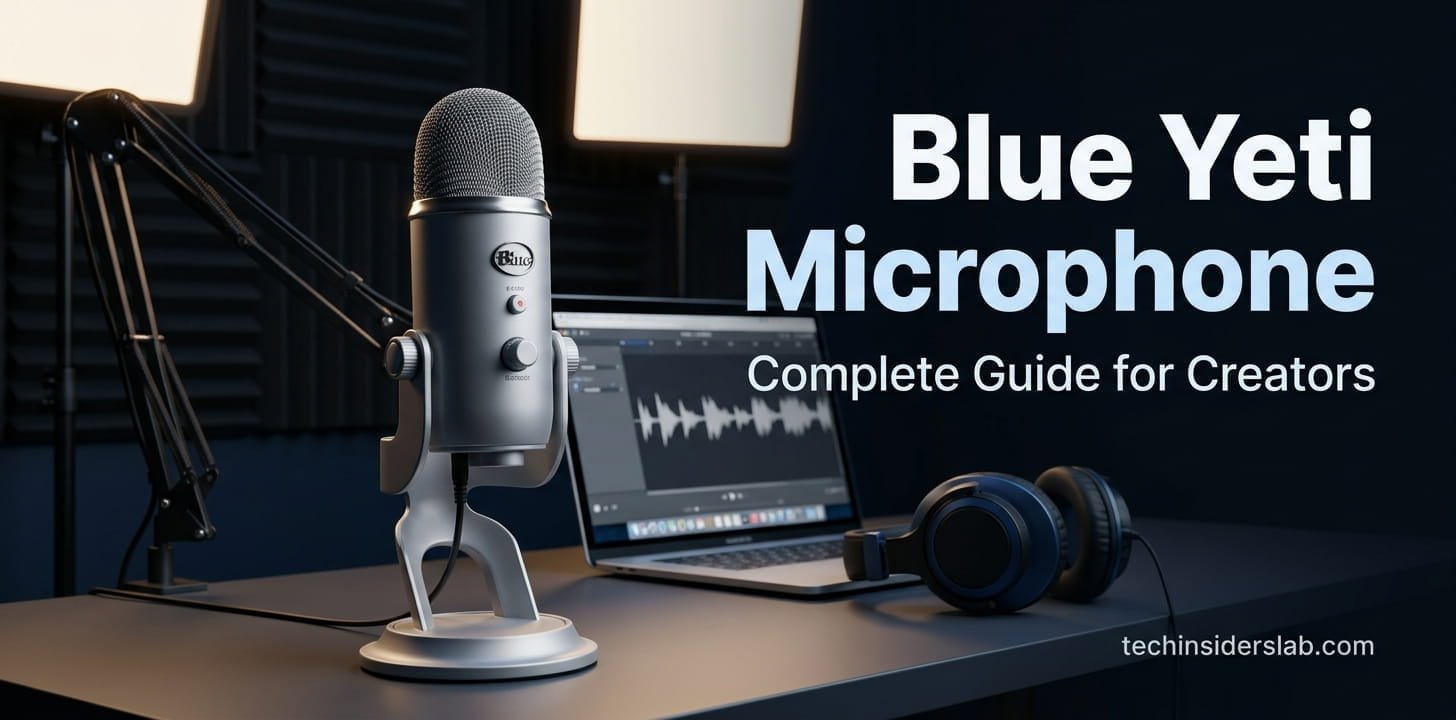
The Blue Yeti is a USB condenser microphone designed for creators who want better-quality audio with a relatively simple setup. It has been used for podcasting, YouTube production, game streaming, voiceovers, music recording, online communication, and other audio applications. Logitech currently lists the Yeti among its creator microphones and highlights its three-capsule technology and four selectable pickup patterns.
But what makes the Blue Yeti different from an ordinary computer microphone? The answer is its combination of multiple recording patterns, physical controls, headphone monitoring, adjustable positioning, and plug-and-play USB connectivity.
What Is the Blue Yeti Microphone?
The Blue Yeti is a desktop USB condenser microphone originally developed under the Blue Microphones brand and now part of Logitech’s creator-focused microphone lineup.
Instead of requiring a separate audio interface, the microphone connects directly to a compatible computer through USB. This makes it particularly attractive to beginners, streamers, students, podcasters, and creators who want to improve their audio without building a complete studio.
One of the microphone’s defining features is its three-capsule design. Logitech’s technical documentation lists three proprietary 14 mm condenser capsules, while the microphone provides four pickup patterns: Cardioid, Bidirectional, Omnidirectional, and Stereo.
That flexibility is important because different recording situations require different microphone directions.
Blue Yeti Microphone Key Specifications
The original Blue Yeti specification sheet provides several useful technical details:
- Three 14 mm condenser capsules
- Four pickup patterns
- 48 kHz sample rate
- 16-bit bit rate
- 20 Hz–20 kHz microphone frequency response
- Maximum SPL of 120 dB
- Built-in headphone amplifier
- Adjustable desktop stand
- USB connectivity
- Dedicated microphone gain control
- Mute control
- Headphone output
These specifications help explain why the Yeti became popular among people looking for an easy-to-use desktop recording microphone.
Understanding the Four Pickup Patterns
Perhaps the most interesting feature of the Blue Yeti is its four pickup patterns. Instead of permanently recording sound from one direction, users can select a pattern according to their situation.
1. Cardioid Mode
Cardioid is generally the most useful setting for a single speaker.
It focuses primarily on sound coming from the front of the microphone while reducing sound from the rear. This makes it useful for:
- YouTube videos
- Podcasts with one speaker
- Voiceovers
- Gaming
- Streaming
- Video calls
For a typical creator sitting directly in front of the microphone, cardioid is often the easiest starting point.
2. Bidirectional Mode
Bidirectional recording captures sound from the front and rear of the microphone while reducing sound from the sides.
This can be useful for interviews involving two people sitting opposite each other. Rather than requiring two separate microphones for a simple face-to-face conversation, one microphone can potentially handle both voices.
However, positioning becomes more important because both speakers need to be placed correctly relative to the microphone.
3. Omnidirectional Mode
Omnidirectional mode is designed to capture sound around the microphone.
This can be useful for group conversations, meetings, or situations where participants are positioned around the microphone rather than directly in front of it.
The trade-off is that this mode can also capture more surrounding room noise.
4. Stereo Mode
Stereo mode records using a left-and-right perspective, making it suitable for certain music, instrument, environmental, and multi-source recordings.
The availability of four patterns is one of the reasons the Yeti is more versatile than a basic fixed-pattern USB microphone. Logitech specifically describes the four patterns as a way to handle different recording and streaming situations.
Why USB Connectivity Matters
Traditional studio microphones often require additional equipment such as an audio interface, cables, and sometimes separate preamps.
The Blue Yeti takes a simpler approach.
A USB microphone can connect directly to a computer, making the setup much easier for people who are new to audio recording. This is particularly useful for creators who don’t want to spend time learning complex audio hardware before starting their projects.
For beginners, fewer components also mean fewer potential points of failure.
This does not mean USB microphones are automatically better than professional XLR microphones. XLR systems can offer greater flexibility for advanced studio setups. However, a USB microphone can be a practical choice when simplicity and convenience are priorities.
Built-In Controls
Another advantage of the Blue Yeti is that several important controls are located directly on the microphone.
The gain control allows users to adjust microphone sensitivity. Proper gain is important because recording too quietly can create problems when increasing the volume later, while excessive gain can result in distortion.
The microphone also provides a mute control, which can be useful during live streams, meetings, and recordings.
There is also a headphone output for monitoring. The official specification lists a built-in headphone amplifier, allowing users to listen to the microphone through headphones.
This direct monitoring capability is especially helpful when recording because you can identify problems while they are happening instead of discovering them after finishing an entire recording.
Blue Yeti for Podcasting
Podcasting is one of the natural applications for a microphone like the Blue Yeti.
For a single-person podcast, cardioid mode can provide a straightforward starting point. The microphone can sit on a desk or be attached to a compatible boom arm depending on the desired setup.
For interviews, the other pickup patterns can provide additional flexibility.
However, good podcast audio isn’t determined by the microphone alone. Room acoustics, microphone distance, background noise, speaking technique, and recording software all influence the final result.
A quality microphone placed badly in a noisy room may still produce disappointing audio.
Blue Yeti for YouTube
YouTube creators frequently prioritize video quality, but viewers are also highly sensitive to poor audio.
A decent microphone can make narration, tutorials, commentary, reviews, and educational videos easier to understand.
The Blue Yeti is particularly suitable for desk-based content because its design allows it to remain close to the speaker while the camera focuses on the creator.
Logitech specifically promotes the Yeti for YouTube productions and creator applications.
For talking-head videos, placing the microphone at an appropriate distance and speaking toward the front of the microphone can make a noticeable difference.
Blue Yeti for Gaming and Streaming
Live streaming requires reliable audio because viewers are listening continuously while the creator speaks, reacts, and interacts with the audience.
The Yeti has therefore become associated with gaming and streaming setups.
For a streamer, cardioid mode is generally the logical starting point when the creator is sitting in front of the microphone. A boom arm can also help position the microphone closer to the speaker while keeping the desk visually cleaner.
Logitech’s creator ecosystem continues to position Yeti microphones alongside gaming, streaming, YouTube, and podcasting equipment.
Blue Yeti for Voiceovers
Voiceover recording benefits from a microphone that can clearly capture speech.
Whether you’re producing tutorials, explainer videos, presentations, audiobook-style content, or short social media clips, the Yeti can be used as a convenient desktop recording solution.
For voiceovers, the recording environment is particularly important. Soft furnishings, curtains, carpets, and other room elements can reduce unwanted reflections compared with a completely empty room.
Speaking consistently toward the microphone also helps produce more consistent recordings.
Blue Yeti for Online Meetings and Classes
A microphone doesn’t have to be used exclusively for content creation.
The Blue Yeti can also be useful for online meetings, remote teaching, interviews, presentations, and virtual classes.
Its physical controls can be convenient when users need to quickly mute themselves.
For normal video conferencing, however, buying a dedicated microphone only makes sense if audio quality is important. Many modern laptops already include microphones suitable for basic calls.
Blue Yeti and Blue VO!CE
Another part of the Yeti ecosystem is Blue VO!CE, a collection of software-based voice processing features designed for compatible Logitech/Blue microphones.
Logitech describes Blue VO!CE as a suite of broadcast vocal effects that can be used by gamers, podcasters, musicians, and content creators to customize voice output.
Software processing can help creators shape their sound, but it should not be viewed as a replacement for good microphone technique.
The best workflow is usually to start with clean microphone placement and appropriate gain before applying additional processing.
How to Set Up a Blue Yeti Microphone
Setting up a Blue Yeti doesn’t need to be complicated.
Step 1: Position the Microphone
Place the microphone on a stable surface or suitable microphone arm.
Avoid placing it directly beside a noisy computer fan or other obvious noise source.
Step 2: Connect It
Connect the microphone to your computer using its USB connection.
Step 3: Select the Microphone
Open your computer’s sound settings or recording application and select the Blue Yeti as the input device.
Step 4: Choose a Pickup Pattern
Select the appropriate recording pattern.
For a single speaker, cardioid is usually the most practical starting point.
Step 5: Adjust Gain
Start with moderate gain and perform a test recording.
If your voice is distorted or clipping, reduce the gain. If the recording is extremely quiet, increase it gradually.
Step 6: Test With Headphones
Use headphones to listen for background noise, distortion, keyboard sounds, fan noise, or other unwanted sounds.
Common Mistakes to Avoid
Even a capable microphone can produce poor results if it is used incorrectly.
Speaking too far away: Increasing the distance can make your voice sound weaker and allow more room noise into the recording.
Using excessive gain: High gain can make unwanted background sounds more noticeable and may cause distortion.
Choosing the wrong pickup pattern: The best pattern depends on the recording situation.
Ignoring room acoustics: Hard walls and empty rooms can create unwanted reflections.
Touching the desk: Desk vibrations can travel into the microphone. A suitable mount or shock isolation setup can help.
Using heavy software effects: Excessive processing can make speech sound unnatural.
Blue Yeti vs. Professional XLR Microphones
The biggest distinction isn’t necessarily sound quality alone; it is the overall recording system.
A USB microphone is convenient because the audio interface is effectively built into the device. An XLR microphone normally requires additional hardware.
For a beginner, USB can therefore be easier.
For a professional studio, however, XLR microphones can offer more flexibility because the microphone can be connected to different interfaces, preamps, mixers, and other equipment.
The right choice depends on the user’s needs rather than simply choosing the more expensive technology.
Is Blue Yeti Still Worth Considering?
The Yeti remains relevant because its basic concept solves a common problem: people want better audio without constructing a complicated recording system.
Its four pickup patterns, physical controls, headphone monitoring, and USB connectivity make it versatile for several everyday recording tasks. Logitech continues to sell Yeti-branded microphones as part of its microphone lineup, including the Yeti multi-pattern USB microphone.
That said, buyers should distinguish between the original Blue Yeti and newer products such as Yeti X, Yeti Nano, Yeti GX, and Yeti Orb. These models have different designs and specifications.
For example, the Yeti X uses four capsules and supports 48 kHz/24-bit recording, while newer gaming-oriented models introduce features such as Blue VO!CE integration and additional software controls.
Who Should Buy a Blue Yeti?
The Blue Yeti can be a good fit for:
- Beginner podcasters
- YouTube creators
- Gamers
- Live streamers
- Students
- Online teachers
- Voiceover creators
- Remote workers
- Casual musicians
- People upgrading from a laptop microphone
It may be less appropriate for someone building a high-end professional studio who already owns an audio interface and wants a specialized XLR microphone.
Conclusion
The Blue Yeti Microphone is a versatile USB condenser microphone that offers a practical balance between sound quality, flexibility, and ease of use. Its multiple pickup patterns, built-in controls, headphone monitoring, and simple USB connectivity make it suitable for podcasters, YouTubers, streamers, students, gamers, and remote professionals.
Its biggest advantage is that users can start recording without investing in a complicated audio setup. However, microphone placement, gain settings, room acoustics, and proper recording techniques still play an important role in achieving clear and professional-sounding audio.
Overall, the Blue Yeti remains a useful choice for creators who want a flexible desktop microphone without the complexity of a traditional studio setup.